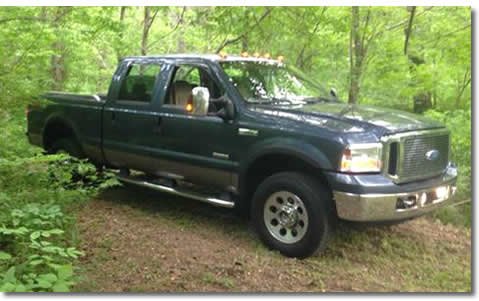
Replaced calipers and pads on the rear, replaced caliper on right front. Bled brakes. Pedal went to floor. Replaced master cylinder and bled. Pedal still going to the floor. Any suggestions?
1) The master cylinder should be bench bled before installation. Was this performed?
2) Pedal will go to floor if there is air in the system or if there is a leak.
- Top off brake fluid level – How to check fluid levels on your car
- Make sure the brake master cylinder reservoir is full.
- Bled brakes – see Brake System Bleeding.
- Now that you are seeing nothing but brake fluid and no air bubbles, top off the fluid level again and pump up the brake pedal.
3) If the brake pedal is still going to the floor after you have already bled them, have someone pump the brake pedal while you look underneath for a spraying brake fluid mess that will eventually form a puddle and drain your brake fluid.
Brake System Bleeding
Special Tools:
- Scan Tool or Vehicle Communication Module (VCM) and Integrated Diagnostic System (IDS) software with appropriate hardware
WARNING: Use of any brake fluid other than approved DOT 3 will cause permanent damage to brake components and will render the brakes inoperative. Failure to follow these instructions may result in personal injury.
CAUTION: Do not allow the brake master cylinder reservoir to run dry during the bleeding operation. Keep the brake master cylinder reservoir filled with clean, specified brake fluid. Never reuse the brake fluid that has been drained from the hydraulic system.
CAUTION: Brake fluid is harmful to painted and plastic surfaces. If brake fluid is spilled onto a painted or plastic surface, immediately wash it with water.
NOTE: When any part of the hydraulic system has been disconnected for repair or installation of new components, air can get into the system and cause spongy brake pedal action. This requires bleeding of the hydraulic system after it has been correctly connected. The hydraulic system can be bled manually or with pressure bleeding equipment.
Manual Bleeding Brakes
1.Connect the scan tool to the vehicle data link connector (DLC) and follow the scan tool instructions.
2.Clean all dirt from and remove the brake master cylinder filler cap. Fill the brake master cylinder reservoir with clean, specified brake fluid.

3.NOTE: Bleed the brake system in the order displayed on the scan tool.
Attach a rubber drain hose to the bleeder screw and submerge the free end of the tube in a container partially filled with clean, specified brake fluid.

4.Have an assistant hold firm pressure on the brake pedal.
5.Loosen the bleeder screw until a stream of brake fluid comes out. While the assistant maintains pressure on the brake pedal, tighten the bleeder screw.
•Repeat until clear, bubble-free fluid comes out.
•Refill the brake master cylinder reservoir as necessary.
6.Tighten the bleeder screw.
•Tighten to 15 Nm (11 lb-ft).
7.Repeat Steps 3, 4, 5 and 6 for the remaining bleeder screws in the system.
Pressure Bleeding Brakes
1.Clean all dirt from and remove the brake master cylinder filler cap. Fill the brake master cylinder reservoir with clean, specified brake fluid.

2.NOTE: Master cylinder pressure bleeder adapter tools are available from various manufacturers of pressure bleeding equipment. Follow the instructions of the manufacturer when installing the adapter.
Install the bleeder adapter to the brake master cylinder reservoir, and attach the bleeder tank hose to the fitting on the adapter.
3.NOTE: Bleed the longest tube first. Make sure the bleeder tank contains enough specified brake fluid to complete the bleeding operation.
Attach a rubber drain hose to the RH rear bleeder screw, and submerge the free end of the hose in a container partially filled with clean, specified brake fluid.

4.Open the valve on the bleeder tank.
5.Loosen the RH rear bleeder screw. Leave open until clear, bubble-free brake fluid flows, then tighten the RH rear bleeder screw and remove the rubber hose.
•Tighten to 15 Nm (11 lb-ft).
6.Continue bleeding the rear of the system, going in order from the LH rear bleeder screw to the RH front disc brake caliper bleeder screw and ending with the LH front disc brake caliper bleeder screw.
7.Close the bleeder tank valve. Remove the tank hose from the adapter, and remove the adapter.
Brake System Leak Check
1.Make sure the brake master cylinder reservoir is full.
NOTE: Brake fluid is water soluble and it is possible that all evidence of fluid leakage has been washed off if the vehicle has been operated in the rain or snow.
2.Apply the brakes several times and make sure the brake pedal feel is not spongy. If necessary, bleed the system. For additional information, refer to Brake System Bleeding in this section.
3.If the brake reservoir level is going down, inspect the brake components, fittings, tubes and hoses to locate the source of the leak.
– Brake System Troubleshooting
